Try Gofer
Gofer is an AI sourcing tool powered by iseekplant.
Tell Gofer what you need and it will help you create a job request and connect you with relevant local suppliers.
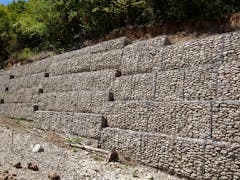
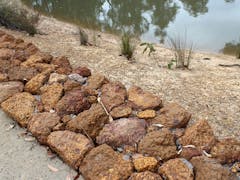
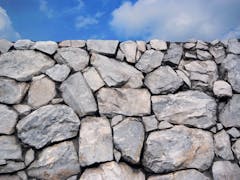
Cape Byron Stone Masonry specialises in crafting premium stone walls and structures, combining precision and expertise to deliver exceptional results. Serving commercial, residential, and landscaping projects, we focus on strong foundations, detailed craftsmanship, and timeless durability. With innovative techniques and a commitment to quality, Cape Byron Stone Masonry creates stonework built to last.
Gofer is an AI sourcing tool powered by iseekplant.
Tell Gofer what you need and it will help you create a job request and connect you with relevant local suppliers.
Verify your listing to gain access to leads, update your profile and add more services and machines.
Verify Now